


How to Deploy Projects to Netlify Manually - Link GitHub Repository.
Learn more about Netlify. Learn how to upload projects manually to Netlify, and link that to the GitHub repository.


Hey, folks Karthik here, I'm sure if you are a developer at one point you wish that man if I had a personal web hosting where I could showcase my web project to everyone. You are not alone; even I had those thoughts. Eventually, I came across a few platforms that will help you to host your web projects for free, There are limitations but ya it does the job for free. In this blog, we are going to talk about Netlify one among many services. In this, you can have a fair idea about how to use Neflify for showcasing your web projects and how to link your GitHub repository to your Netlily account.
What is Netlify?
Netlify has a beautiful and intuitive web UI, enabling designers and developers to host their content without any server management hassle. Netlify builds, deploys, and hosts your web project. It offers a free plan to get started, allowing you to host up to 100GB of storage and 300 build minutes.
How to use Netlify?
Let us see the process one by one:
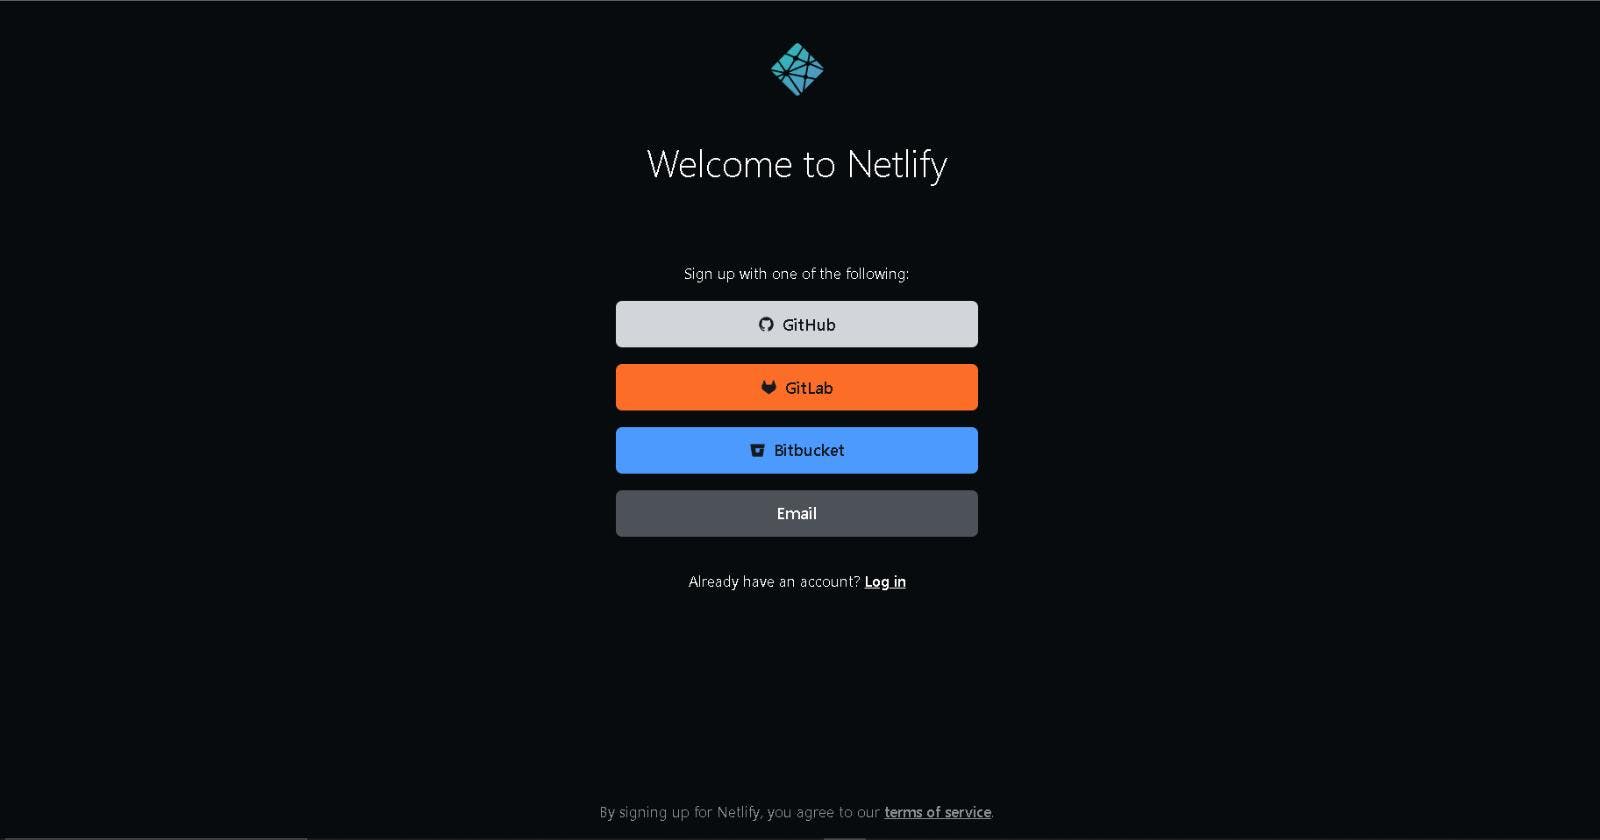
Step 1: Login/Sign Up for Netlify
If you are new to Netlify create your account using Email, GitHub, GitLab, or Bitbucket. If you have an account already log in to your account.
Step 2: Add new site
Once your login you can see an overview page. Now to add a new site you can see add new site button in the overview section or else you go to the site section and you can see add new site button.
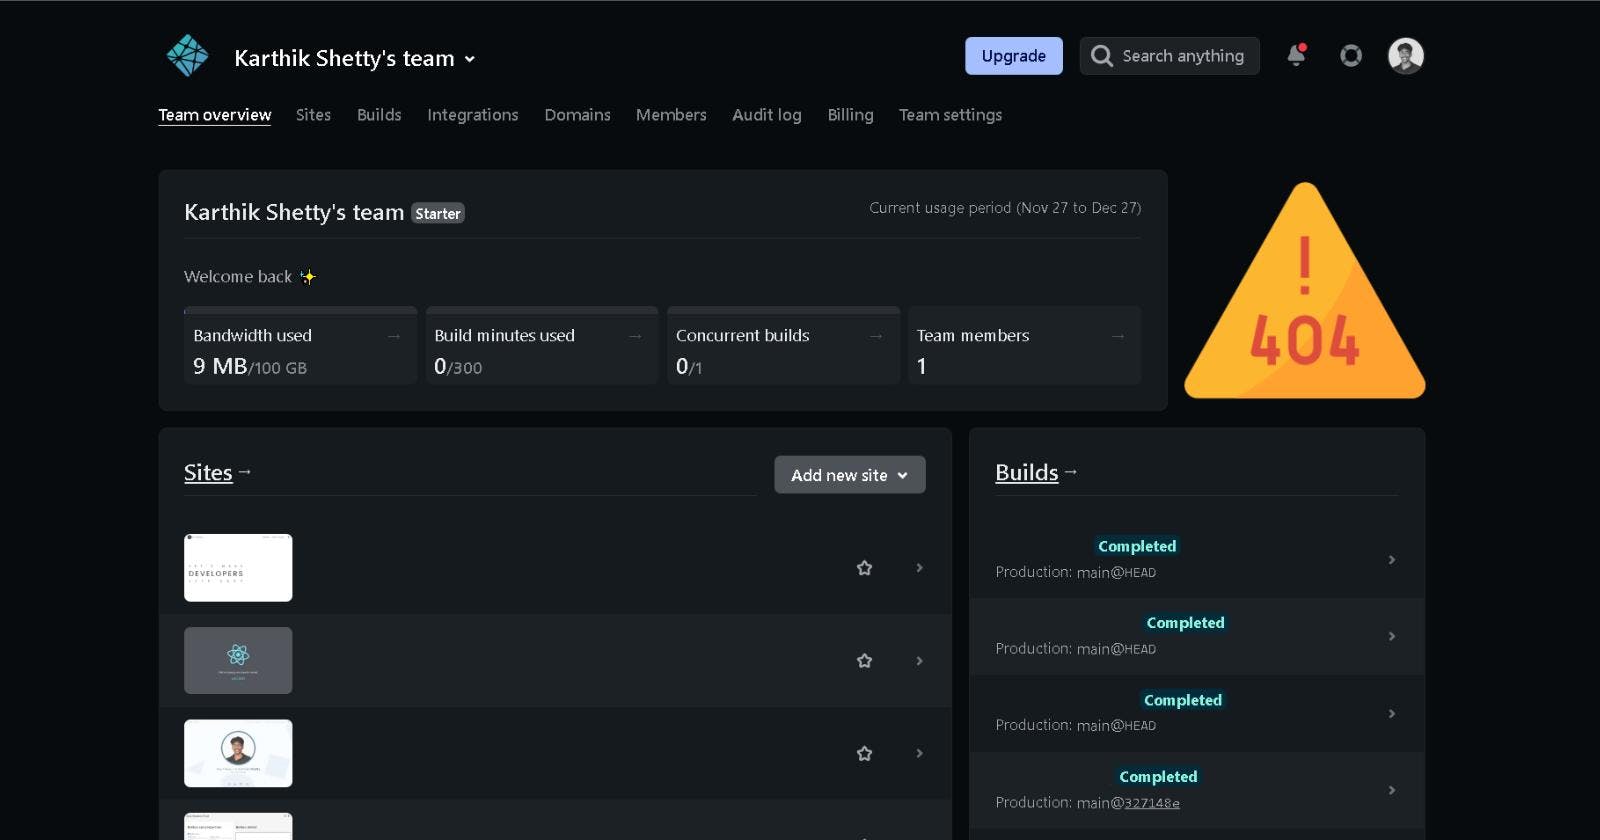
Once you click on add new site button you can see three options:
Import an existing project.
Start from a template.
Deploy manually.
In this article, we are going to focus on the third option "Deploy manually" and then how to link the GitHub repository to it.
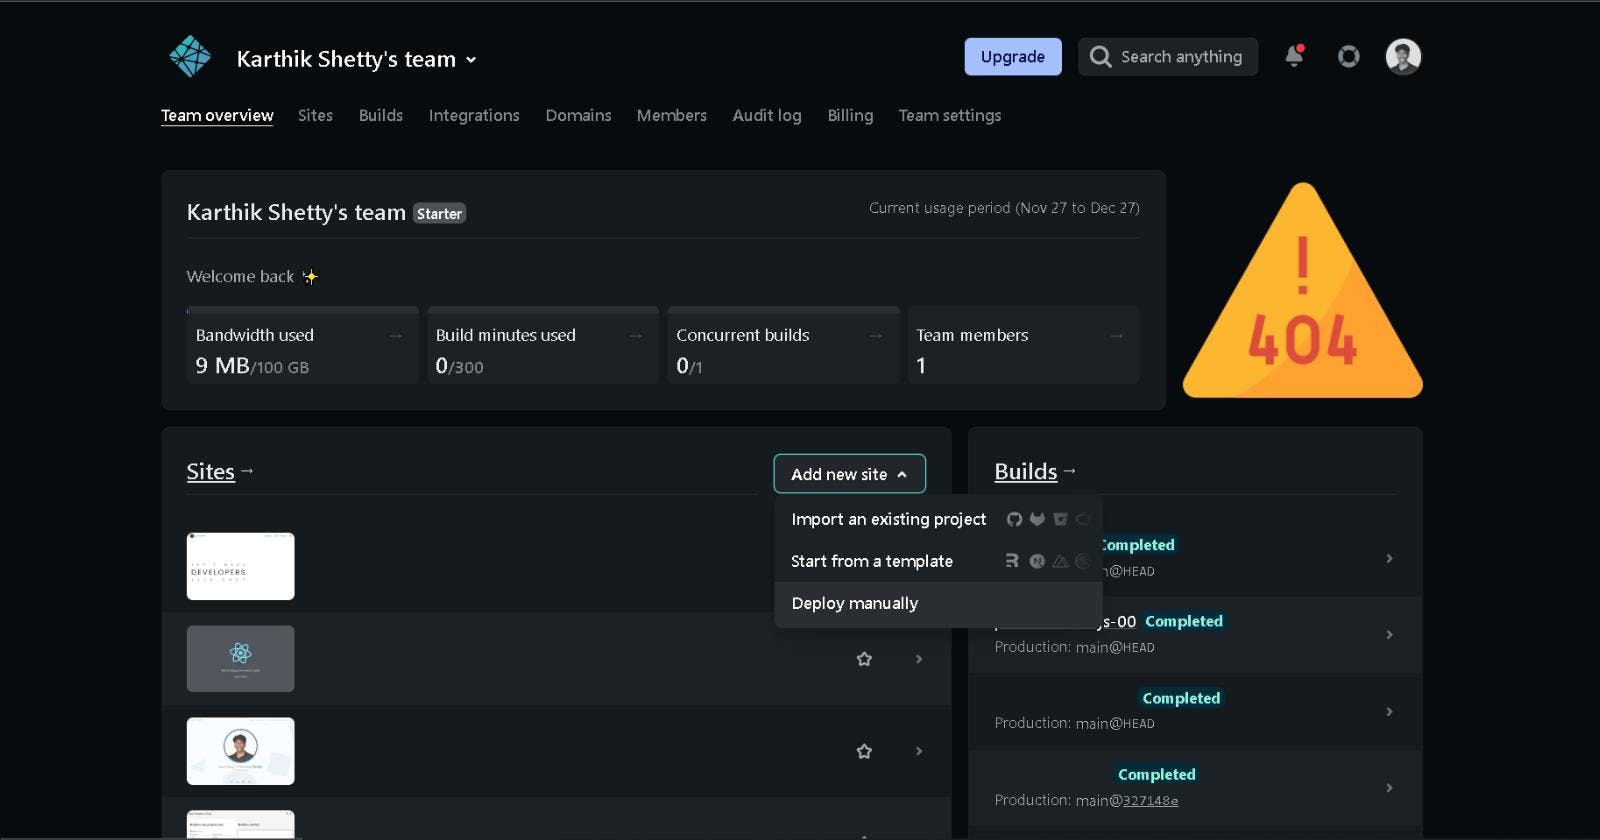
Step 3: Deploy manually
Once you click on the "Deploy manually" option you will see a page where you can drag and drop your file or browse your file.
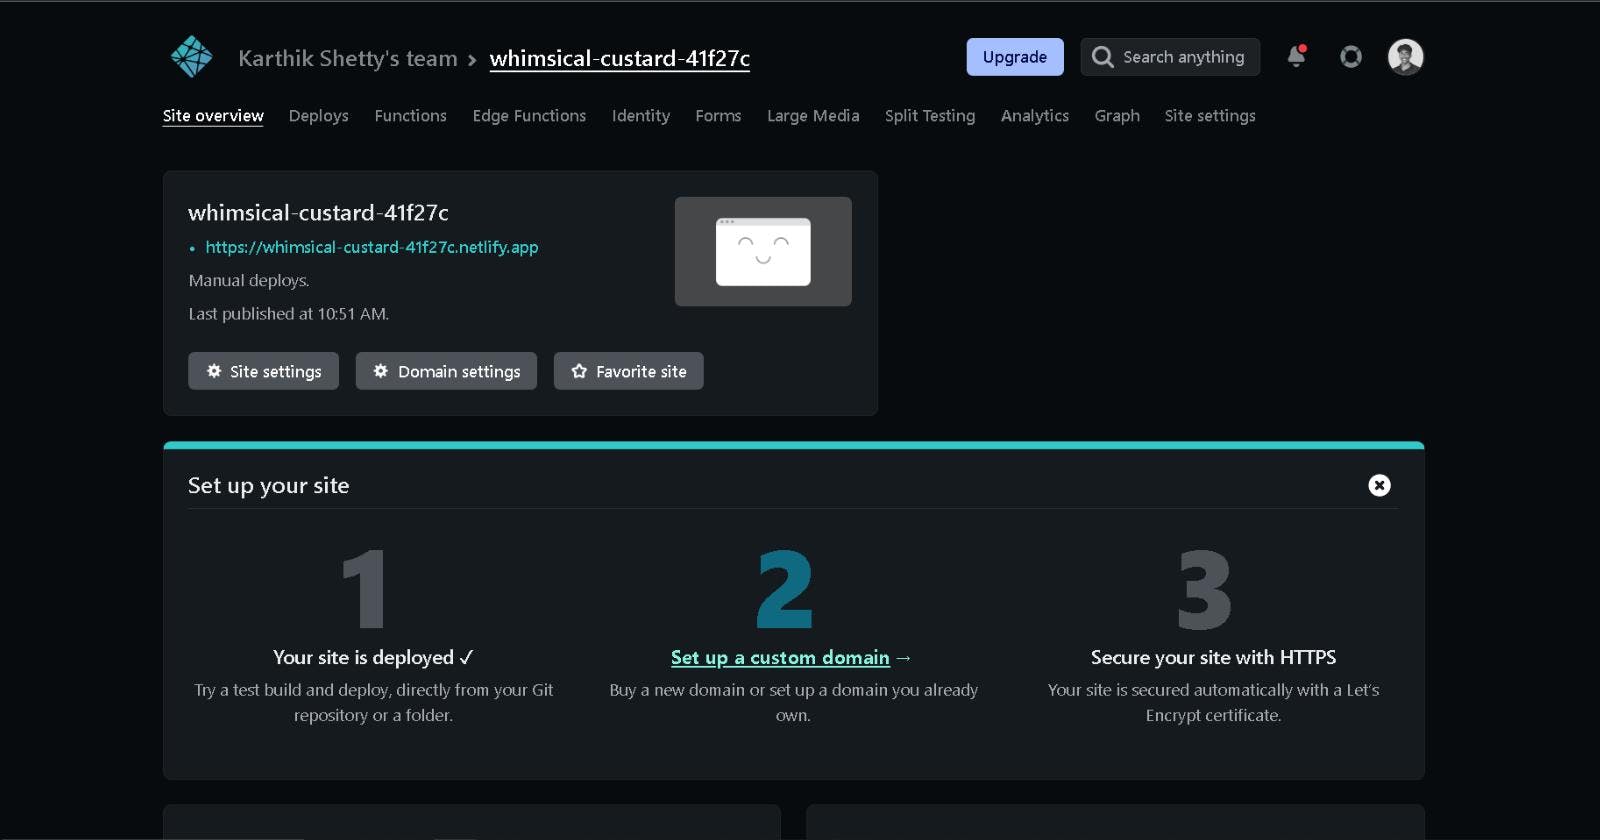
That's it, within some time you can see that your web project is live. You can see a shareable link for your project. If you click on the link you can see that your project is live.
Step 4: Link your GitHub repository
Once your site is live; it's time to link the GitHub repo so that if you made any changes to the project file and update that to the GitHub repo it will be replicated in your site also.
For that first, go to your site and click on site settings. You can find the site settings in the site overview section or the top navigation section.
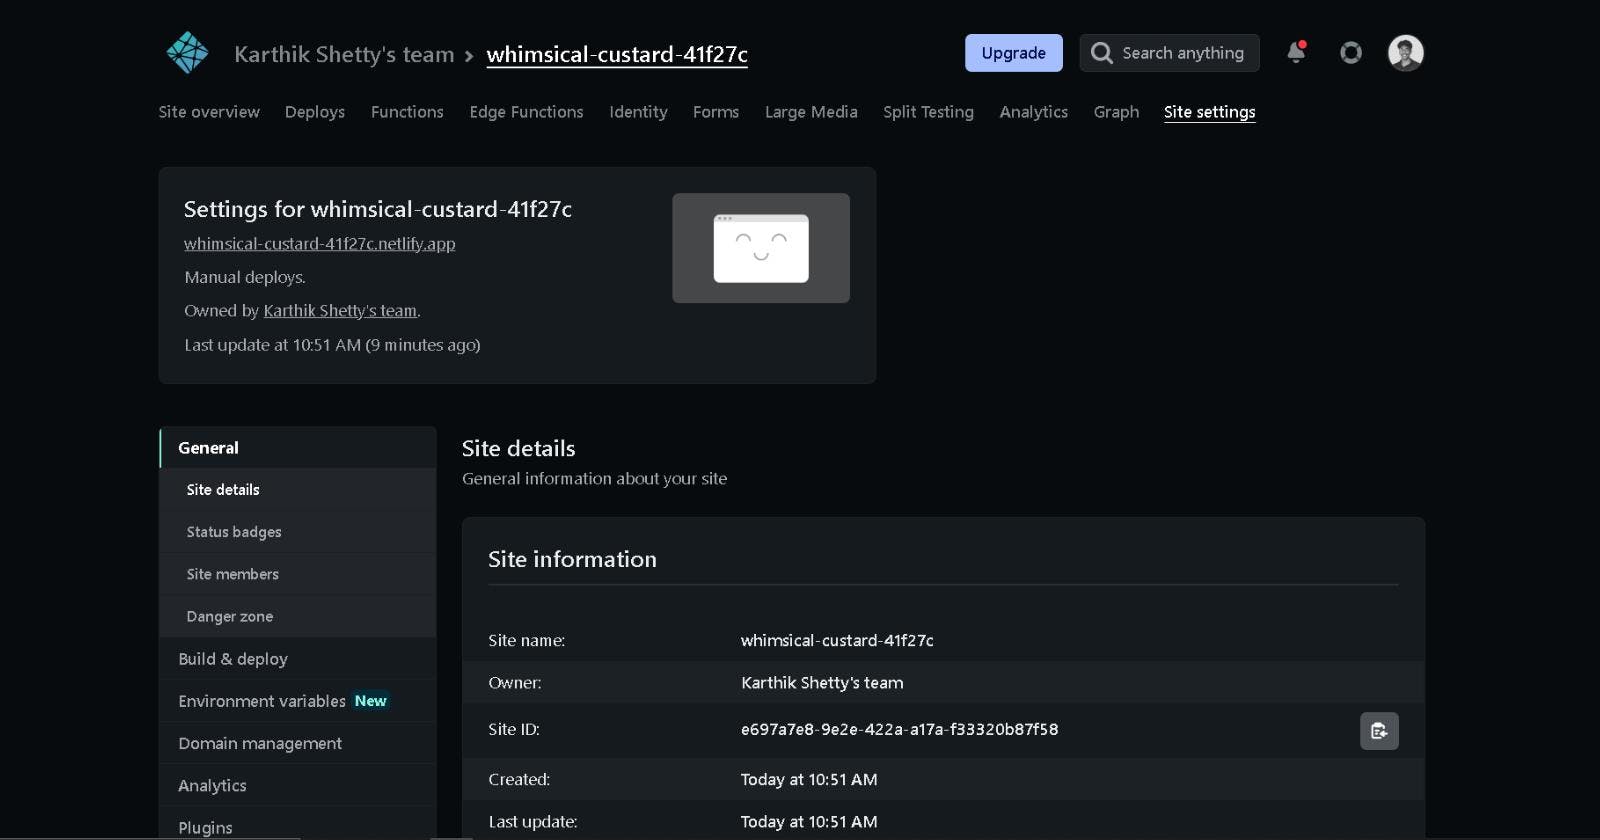
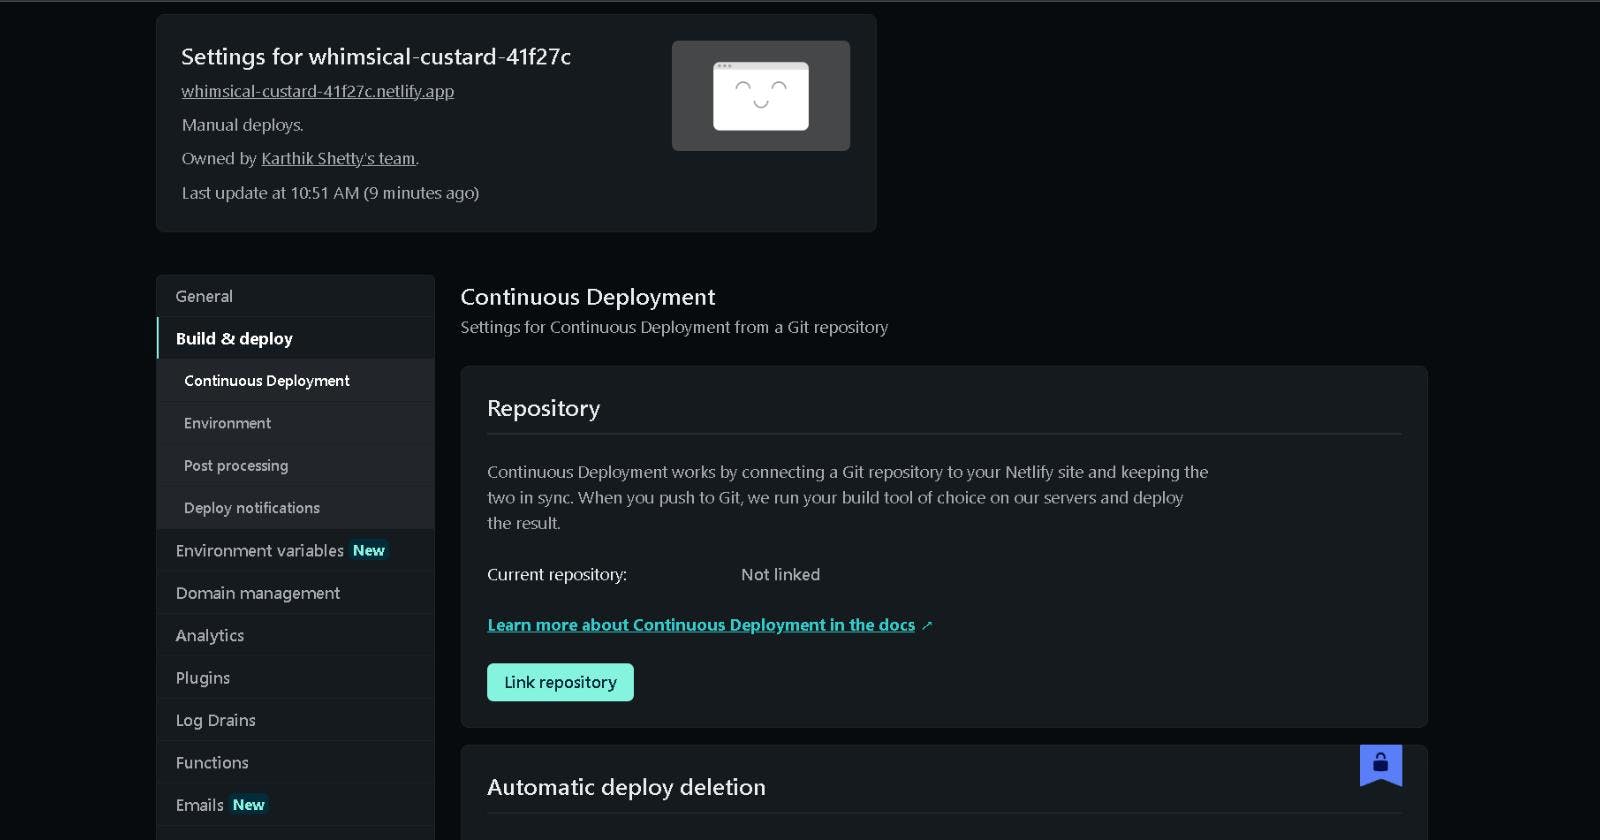
Once you are in the site settings section click on Build & deploy then click on Link repository under repository.
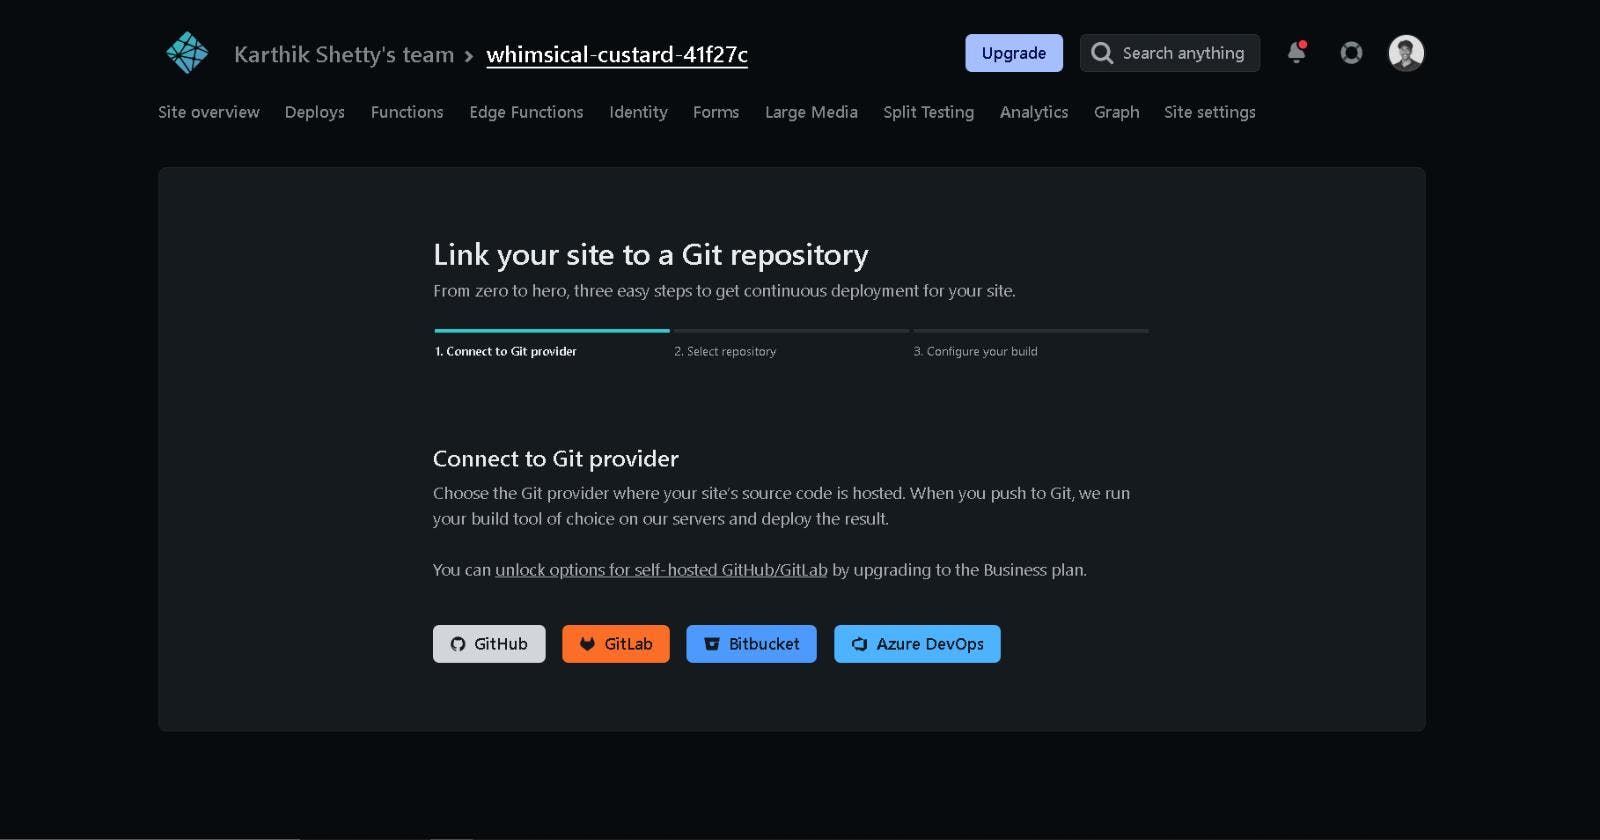
Now chose GitHub.
Once you are authorized you can see a page like below.
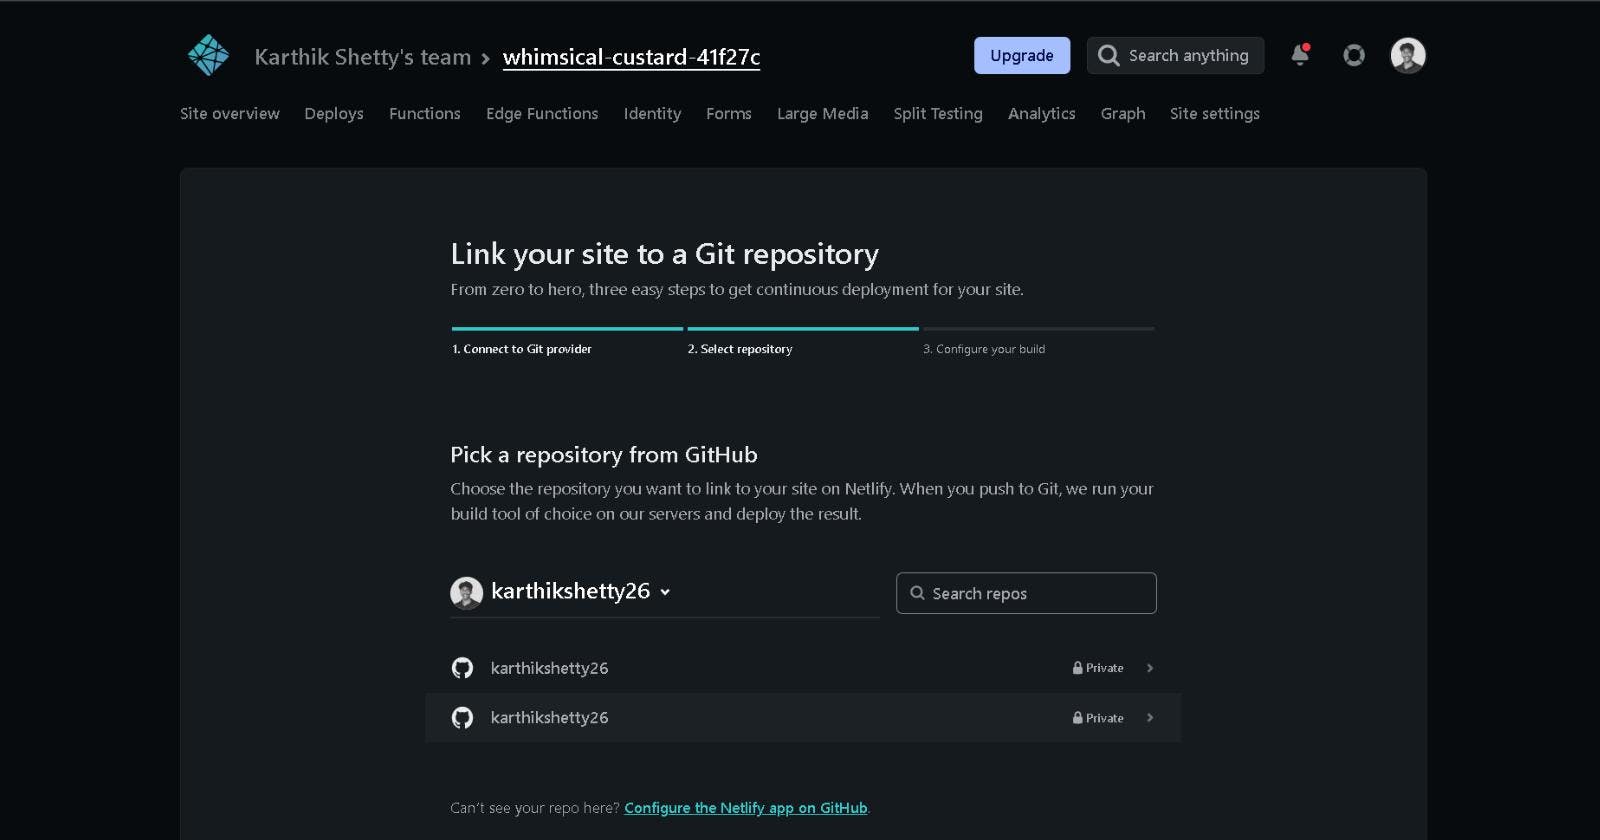
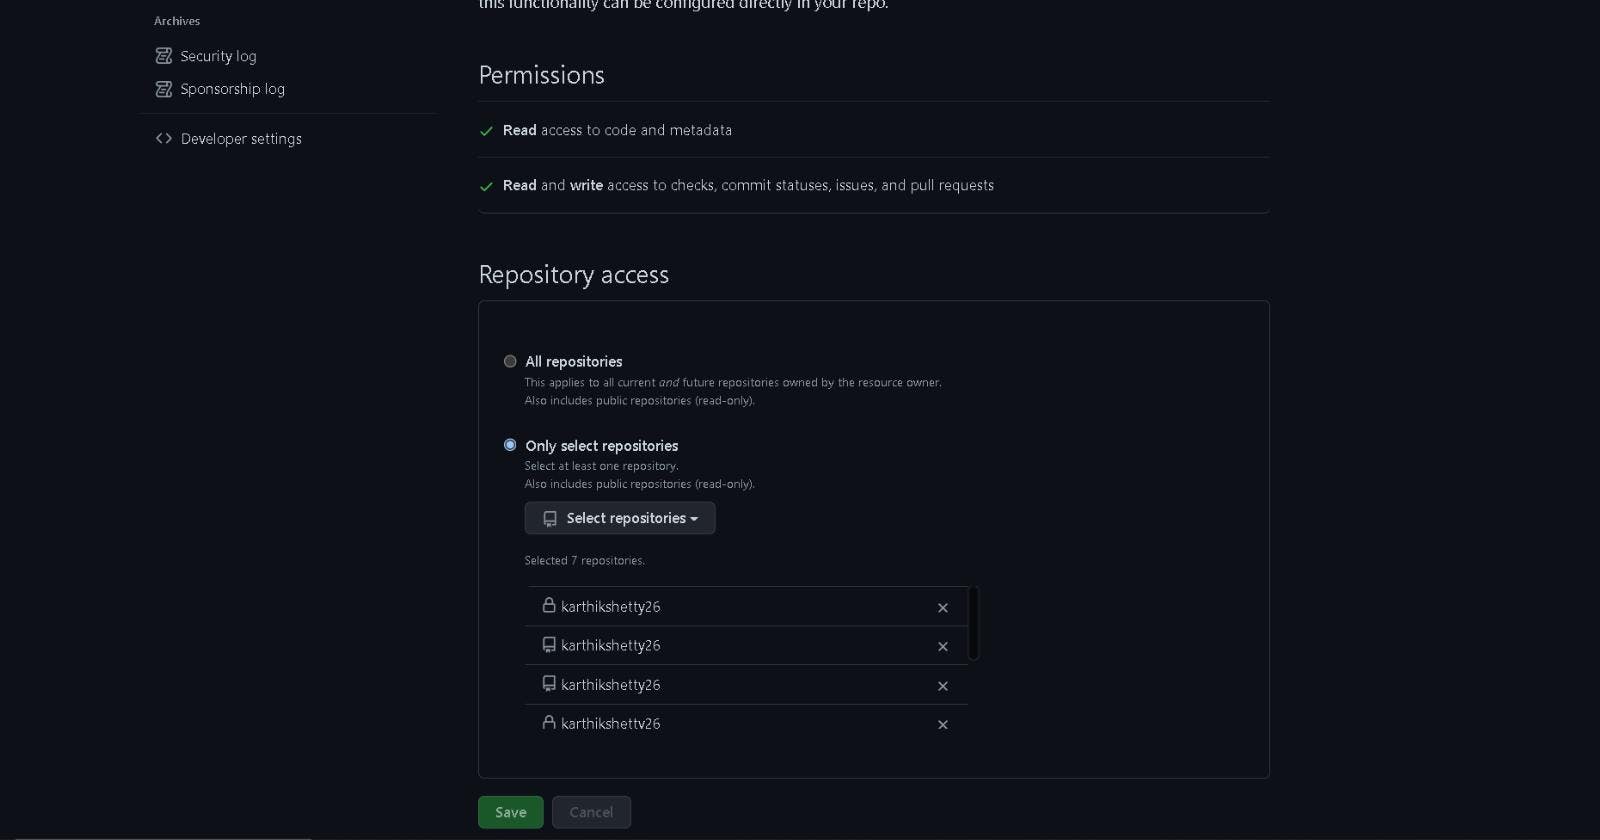
Now chose your repository. If you are not able to find your repository click on Configure the Netlify app on GitHub. Scroll down and you see two options under repository access saying 1) All repositories 2) Only selected repositories. Chose whichever suits you and hit save.
Now it will redirect you to the Netlify page and now you can see your repository.
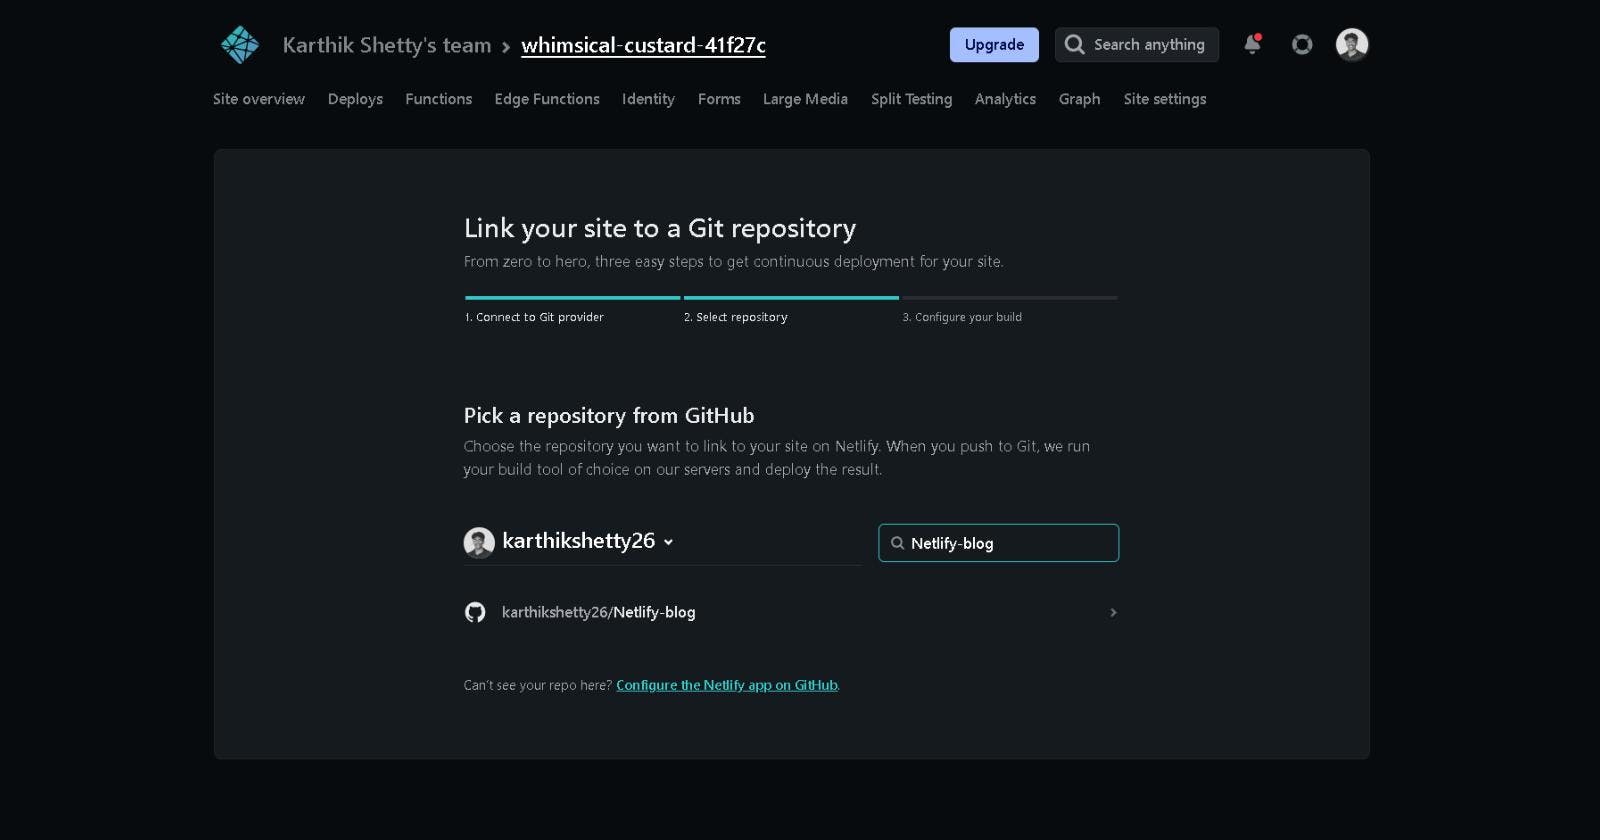
Select your repository and hit Deploy site.
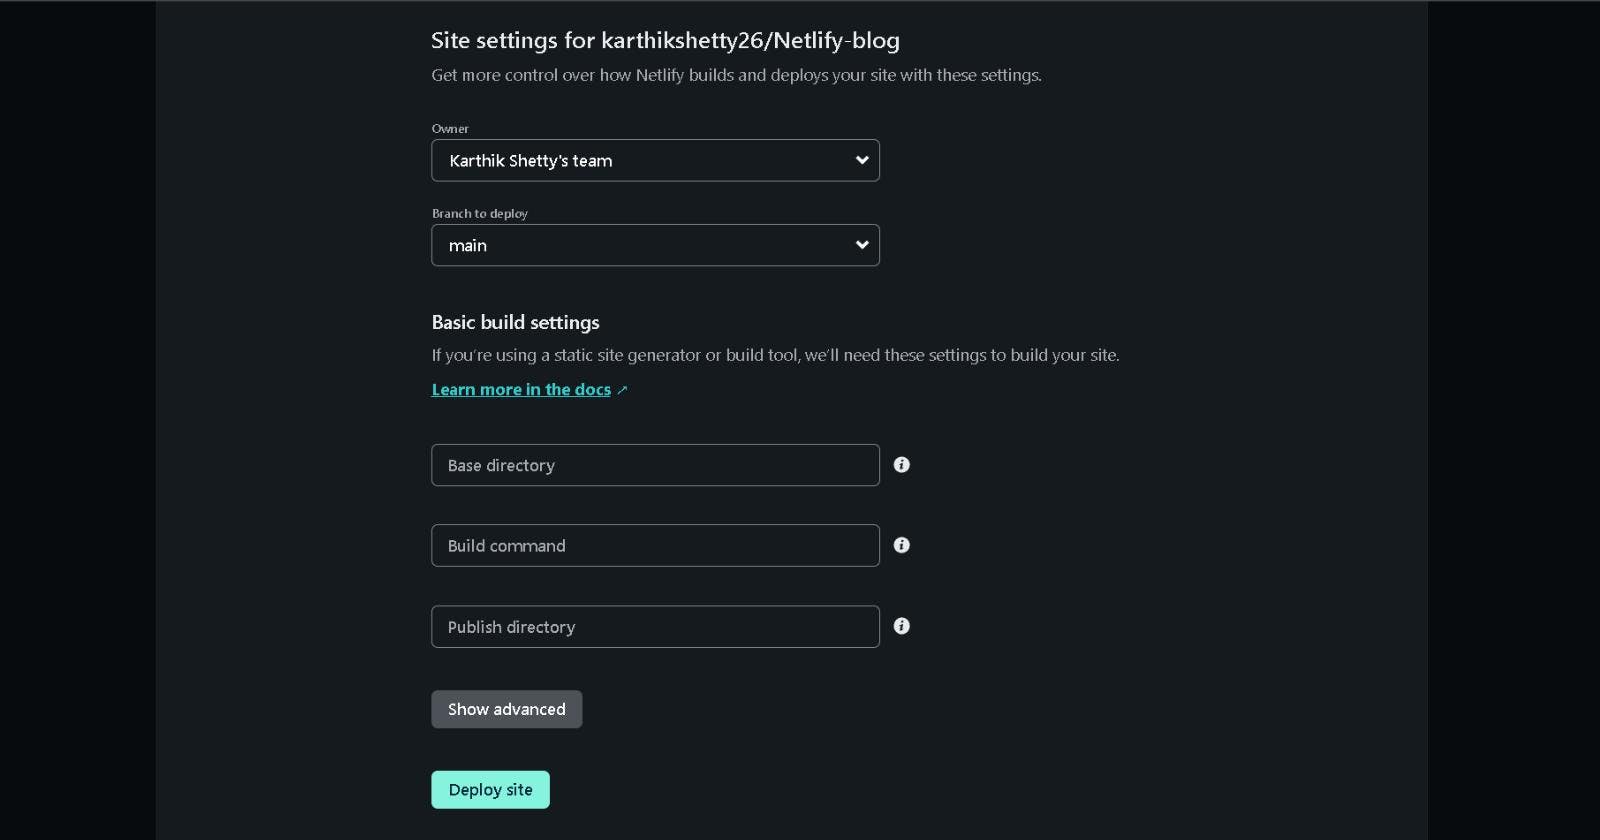
Now your project is linked to the GitHub repository.

Step 5: Add a custom URL to your project
To add a custom URL let's go to site overview and click on Domain settings If you can't find that in the overview page go to site settings and select Domain management. Then you can see the custom domain option where you have two options
1) Add your custom domain name or
2) Select a subdomain under netlify.app URL.
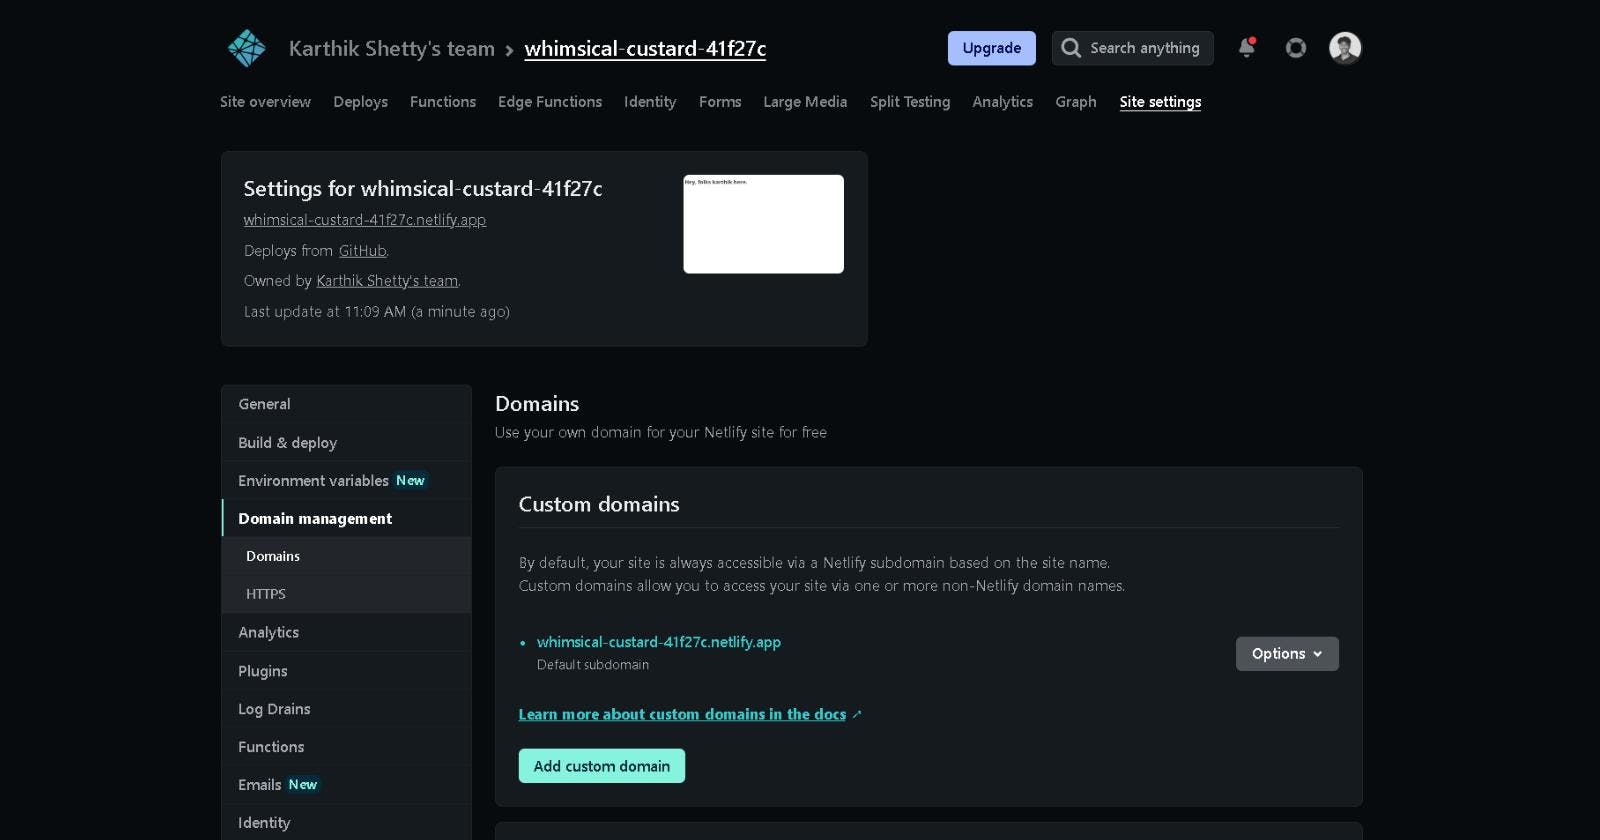
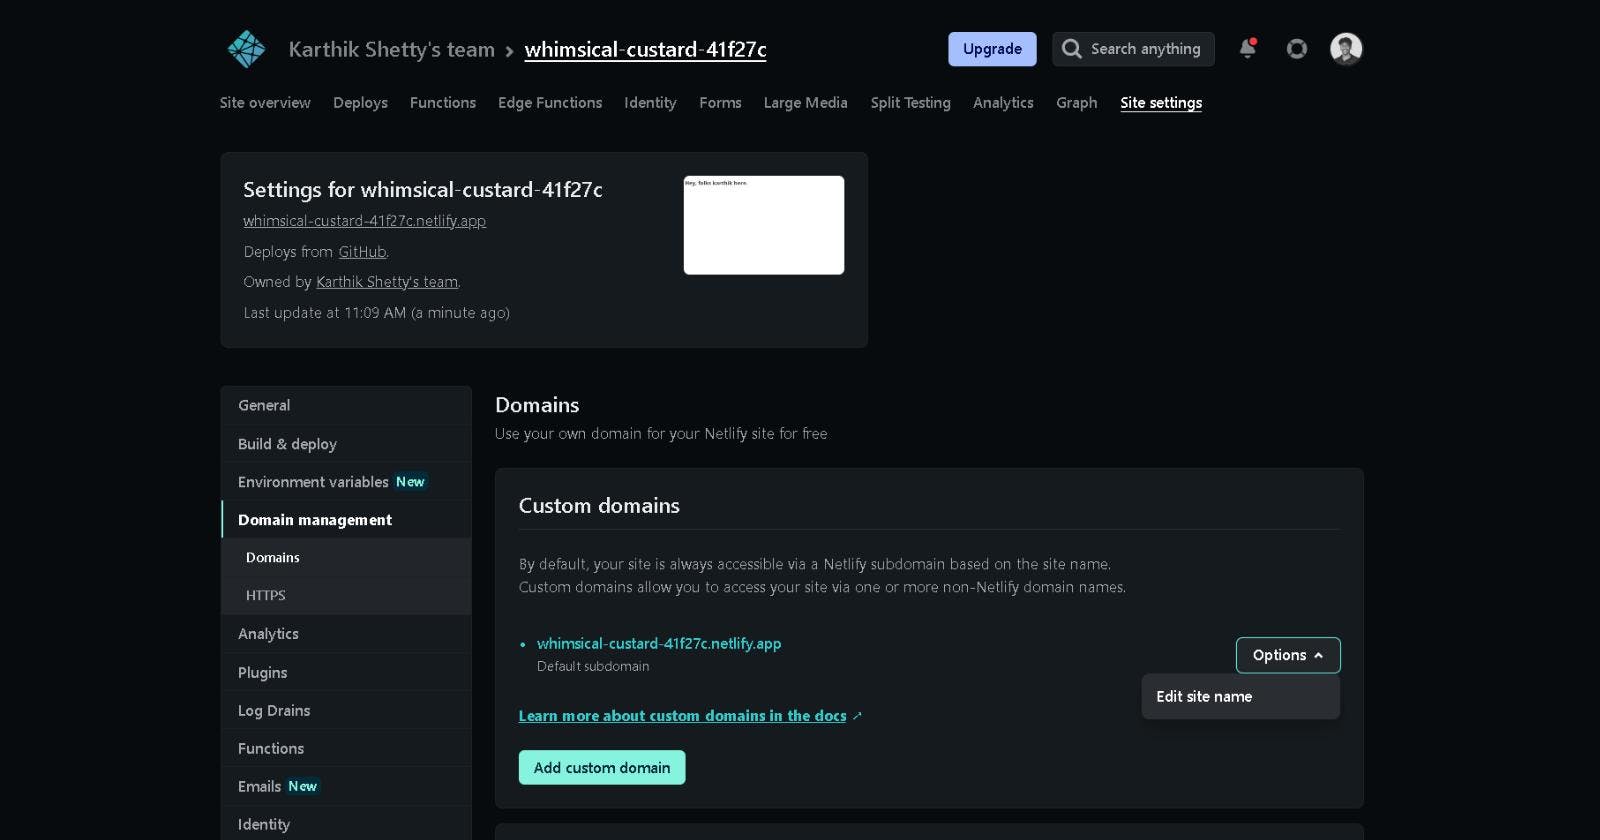
We will focus on the second one; It's free and easy to set up. For this click on Options and select edit site name.
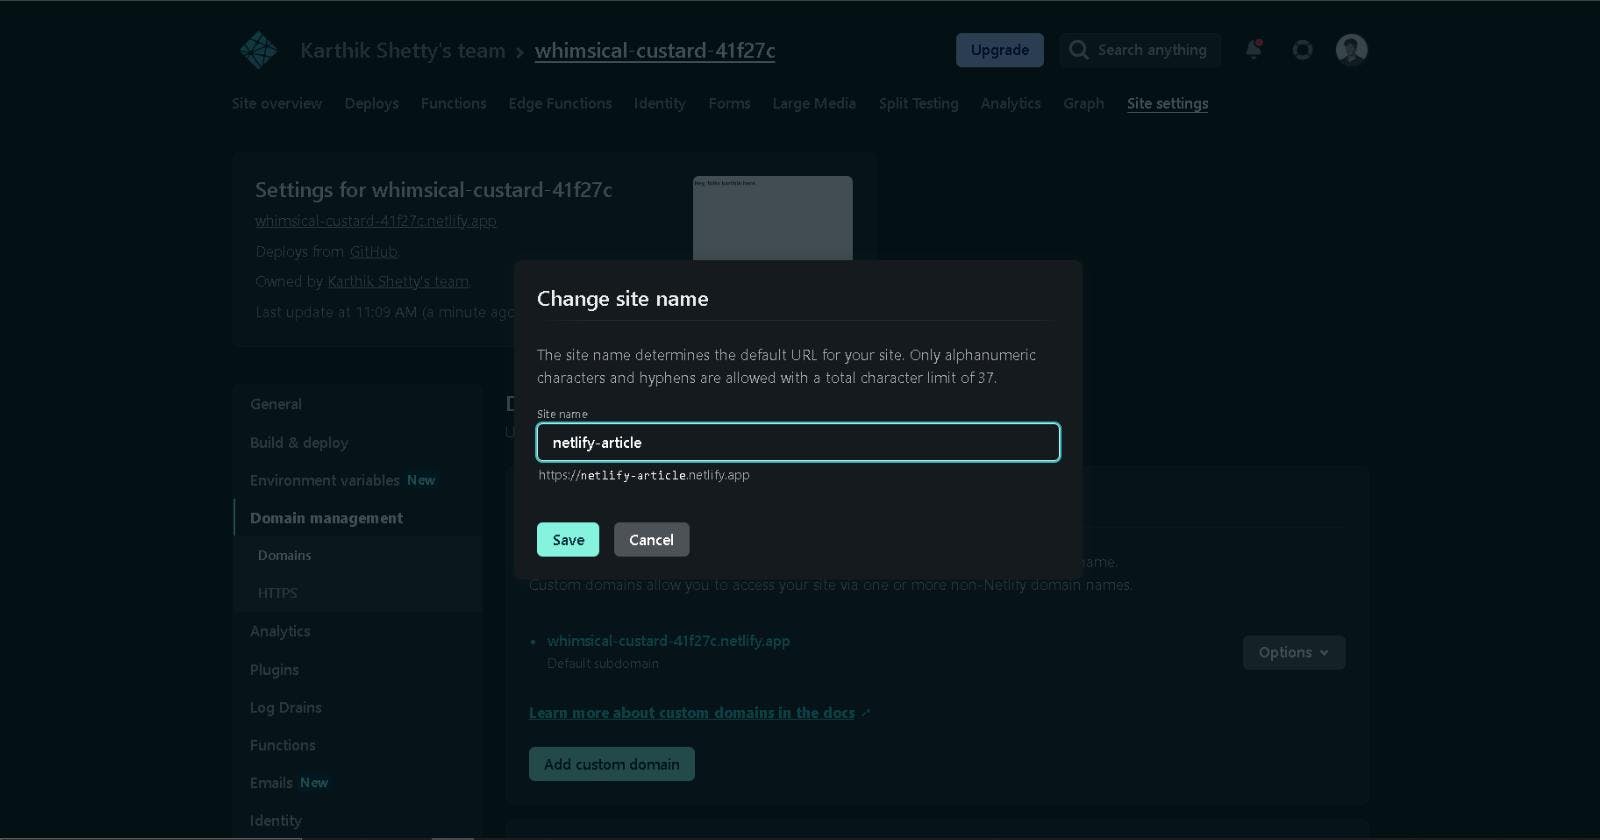
Now enter your subdomain name and check whether it's available or not. Once you are happy hit save.
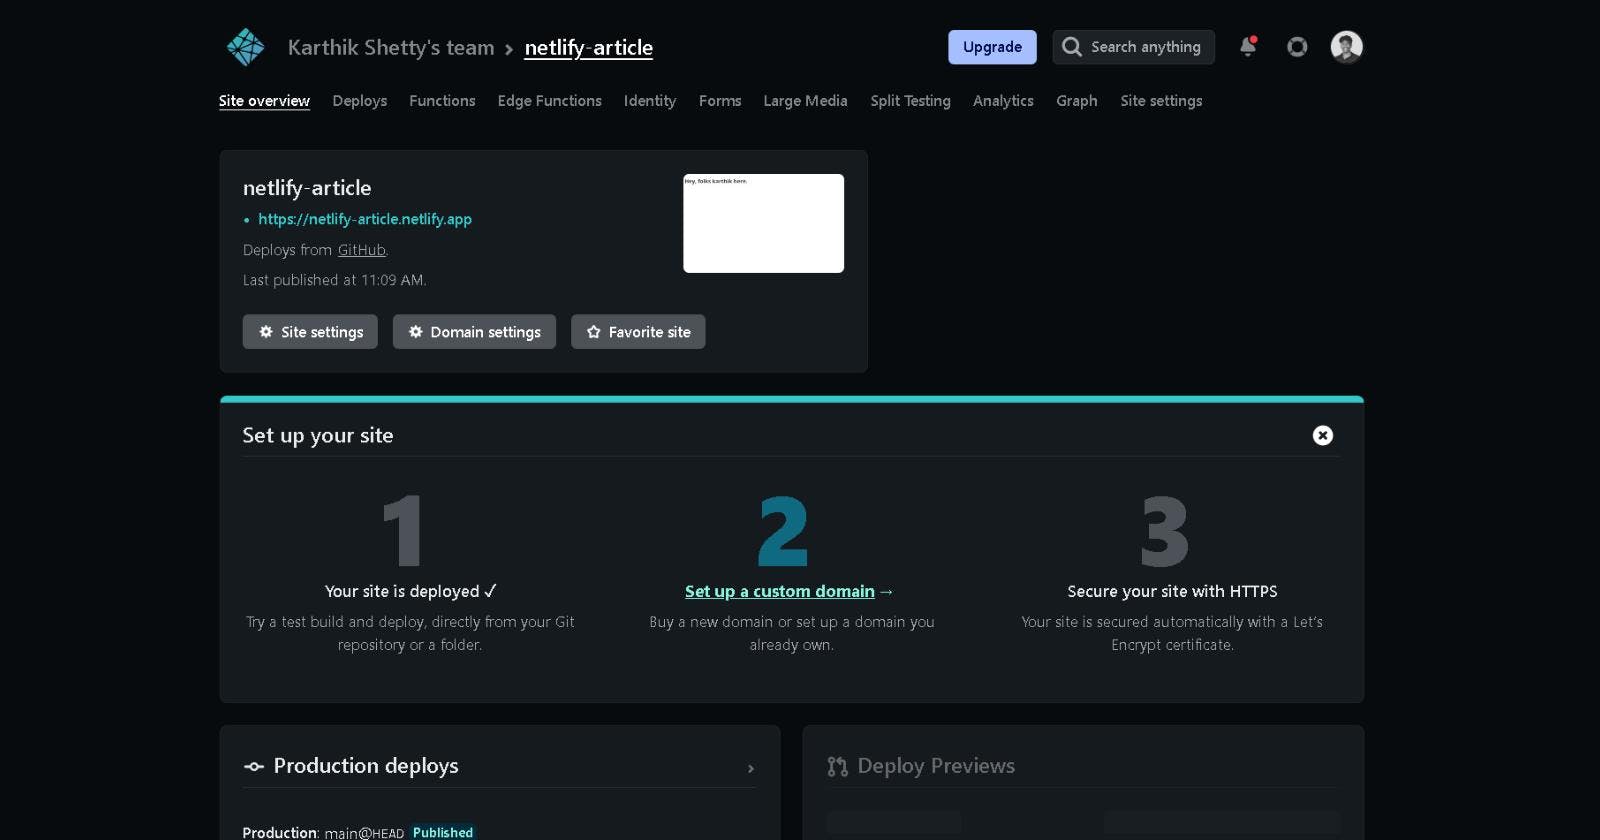
There you go; You have a nice good looking URL.
Conclusion
If you’re a developer looking for a way to showcase your web projects you’ve come to the right place. Netlify offers a free plan that lets you host up to 100GB of storage and 300 build minutes. This is enough space to start static site generation without having to worry about other details like hosting or DNS settings — all done for you automatically! With its beautiful UI, intuitive workflow, and global CDN deployment capabilities, Netlify makes it easy to deploy your website on any server in seconds